When first installed the app goes straight to the initial settings dialog to allow you to enter the details of your receiver(s)
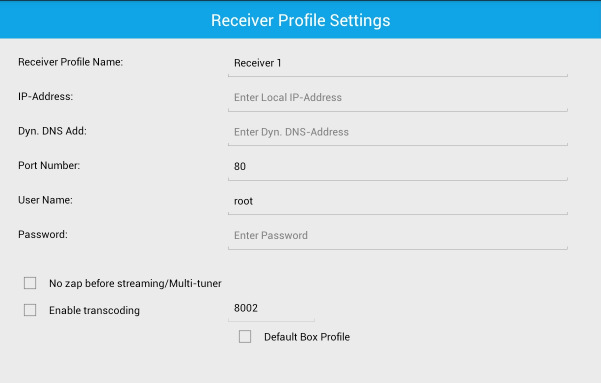 Figure 3
Fill in the fields as follows:
- Receiver Profile Name: Your choice e.g. VU+Solo2
- IP-Address. The IP address of your receiver, e.g. 192.168.1.100. It is advised you
disable DHCP in your receiver and give it a fixed IP address. This is the one you
should enter here.
- Dyn.DNS Add: If you have a dynamic DNS address e.g. myname.dyndns.org else leave blank.
- Port Number: The port your receiver's WebIF uses (default is 80) Change this if
you are intending to log in from outside your LAN, e.g. with dynamic DNS. Example 8889.
- User Name: This is "root" by default
- Password: Blank by default (No password)
- No zap before streaming: Select only if you have two or more active tuners.
- Enable transcoding: Experimental, currently on VU+Solo2 only.
- Port number for transcoding can be entered here. Default port 8002.
- Default Box Profile: Select if this is the only receiver, or the one you want to use by default.
Once a profile has been created the back button produces a dialog confirming whether to save the new settings:
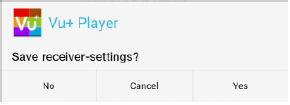
Figure 4
If save is selected, another dialog asks whether you want to use the new settings.
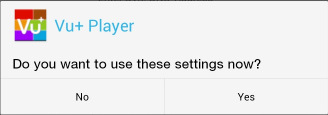
Figure 5
If this is the only receiver then choose "Yes". If this is another profile and you do not want to use it then select "No"
If you select the "Settings" button again, with at least one receiver set up then you get the option to review your settings:
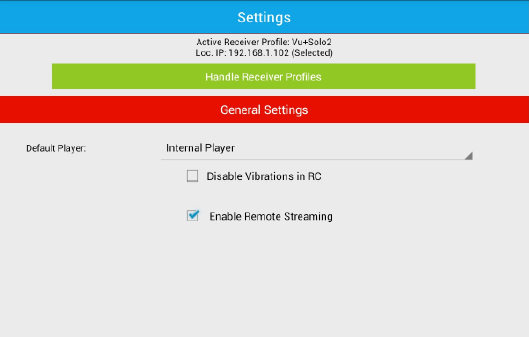
Figure 6
If you do not want vibration feedback when using the app as a remote control substitute, then select "Disable Vibrations in RC"
If you intend to stream from any of your receivers select "Enable Remote Streaming" If you have a dynamic DNS address then select this to allow you to stream video when away from your home LAN (Local Area Network)
Selecting "Handle Receiver Profiles" allows you to add/edit/delete any profiles:

Figure 7
To add a new profile select the "Add new receiver profile" and you will be returned to Figure 3 above. If you select an existing profile you can Select, Edit or Delete it:
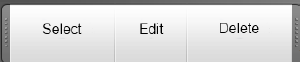
Figure 8
Home Screen.
There is a menu (the triple dot icon) on the top right corner: Selecting this:

Figure 9
Menu > About: Gives software version and developers name:
Figure 10
Long tap on the VU+ icon gives a dialog with screen settings and the IP address of the Android device you are using
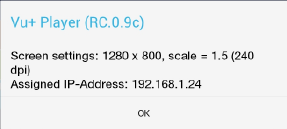
Figure 11
Menu > Support: Opens your device browser to VU+ Homepage
Menu > Enforce Dynamic DNS: If connected to your LAN and a dynamic address has been entered, this will force the device to use the external address of your network, as if you were away from home. (Useful to test streaming) If you are on a LAN elsewhere with the same I.P. range as at home this will prevent errors from occurring as your receiver is not present.
Menu > Help - Dynamic DNS: Explains points above.
Menu > "Enable/Disable no zapping" function is for twin tuner receivers and allows you to stream one channel while watching another on the TV screen.
Menu > "Enable/Disable transcoding for streaming" function is an experimental function for VU+ Solo2 receivers with transcoding enabled on the receiver.


